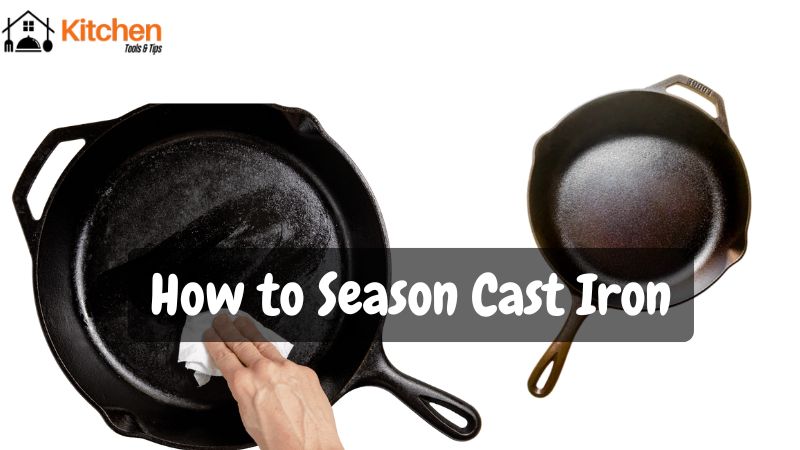
What Is Cast Iron Seasoning?
Seasoning is not about adding flavor. It is a protective layer on your iron pans.
This layer forms when fat molecules bond to the metal. Heat causes this bonding. The process is called polymerization.
A good seasoning layer has three benefits:
- Prevents rust
- Creates non-stick surface
- Adds flavor over time
Your Lodge cast iron cookware needs this layer. Without it, food sticks. The pan rusts easily.
Why Seasoning Matters
Cast iron without seasoning is almost useless. Here is why seasoning is crucial:
Protection Against Rust
Bare iron reacts with water and air. This causes rust. A seasoned layer blocks moisture. Your pan stays rust-free.
Non-Stick Cooking
A well-seasoned skillet rivals modern non-stick pans. Eggs slide right off. Pancakes flip easily. No toxic chemicals needed.
Better Flavor
Each time you cook, the seasoning improves. Your iron tawa develops character. Foods taste richer.
Longer Lifespan
Properly seasoned iron grill pans last forever. They pass down through families. My grandmother’s 60-year-old pan still works great.
Best Oils for Seasoning
Not all oils work the same. Some create better seasoning than others.
Top Choices:
Flaxseed Oil
- Creates hardest seasoning
- High smoke point
- Expensive but worth it
Grapeseed Oil
- Affordable option
- Good polymerization
- Easy to find
Vegetable Shortening
- Traditional choice
- Works very well
- Cheap and effective
Canola Oil
- Budget-friendly
- Decent results
- Widely available
Avoid These:
Olive Oil While olive oil works for cooking, it has issues for seasoning. The smoke point is too low. It can get sticky. Use it for cooking, not initial seasoning.
Butter
- Burns too easily
- Creates uneven coating
- Not recommended
Tools You Need
Gather these items before starting:
- Clean cast iron piece
- Paper towels or lint-free cloths
- Your chosen oil
- Oven with accurate temperature
- Aluminum foil (optional, for catching drips)
- Hot pads or oven mitts
- Mild dish soap (for first cleaning only)
- Scrub brush or chain mail scrubber
Step-by-Step Seasoning Process
Follow these steps for perfect results.
Step 1: Clean Your Iron Pans
New cookware has a factory coating. Used pans may have old food bits.
For new Lodge cast iron:
- Wash with warm water
- Use a drop of mild soap
- Scrub gently
- Rinse completely
- Dry right away
For old iron pans:
- Remove rust with steel wool if needed
- Wash thoroughly
- Check for damage
- Dry completely
Step 2: Dry Completely
Water is your enemy now. Any moisture causes rust.
- Towel dry the pan
- Place on stove top
- Heat on medium for 5 minutes
- This evaporates all moisture
Step 3: Apply Thin Oil Layer
Less is more here. Too much oil creates sticky spots.
- Pour a small amount of oil
- Spread it everywhere
- Cover handles too
- Wipe off excess
- The pan should look almost dry
Think of it like applying lotion. You want a very thin film.
Step 4: Bake Upside Down
This prevents oil pooling.
- Preheat oven to 450°F
- Place foil on bottom rack
- Put your skillet upside down on middle rack
- Bake for one hour
- Turn off oven
- Let pan cool inside
Step 5: Repeat the Process
One coat is not enough. You need layers.
- Do 3-4 rounds minimum
- Some people do 6-7 rounds
- Each layer makes it better
- Wait until pan cools between coats
After each round, your pan gets darker. This is good.
Seasoning Different Cast Iron Items
Each piece needs slightly different care.
Iron Tawa (Griddle)
The flat surface is easy to season.
- Follow basic steps above
- Pay extra attention to edges
- Use on high heat regularly
- Perfect for dosas and rotis
Wok
The curved shape needs special care.
- Season inside and outside
- Focus on the cooking surface
- The bottom may look different (that’s okay)
- High heat cooking improves seasoning
Iron Dutch Oven
Large pieces take more time.
- Season pot and lid separately
- Use more oil due to size
- May need extra baking time
- Check all interior surfaces
Iron Grill Pan
The ridges need attention.
- Get oil into valleys
- Wipe ridges well
- May need extra coats
- Use brush for hard-to-reach spots
Maintaining Your Seasoning
Good maintenance keeps your seasoning strong.
After Each Use
- Let pan cool slightly
- Rinse with hot water
- Use brush or scraper
- No soap needed (unless very greasy)
- Dry immediately
- Add thin oil layer
- Heat briefly on stove top
Regular Cooking
Using your pans is the best maintenance.
- Cook fatty foods often
- Bacon helps seasoning
- Frying improves the layer
- Avoid acidic foods at first (tomatoes, vinegar)
Monthly Care
Give your iron pans extra love.
- Check for dull spots
- Re-season if needed
- Oil handles and exterior
- Store in dry place
Common Mistakes to Avoid
Learn from these errors.
Using Too Much Oil
Excess oil turns sticky. Your pan feels tacky. Apply thin layers only.
Wrong Temperature
Too low: Oil doesn’t polymerize Too high: Oil burns and smokes Stick to 450-500°F
Not Enough Coats
One layer is weak. You need 3-4 minimum. More is better.
Skipping Drying
Water under seasoning causes problems. Always dry completely.
Using Dishwasher
Never put cast iron in dishwasher. It strips seasoning. Hand wash only.
Storing While Damp
This causes rust spots. Dry and oil before storage.
Troubleshooting Problems
Fix these common issues.
Sticky Residue
Cause: Too much oil or low temperature
Fix:
- Wipe pan down
- Bake at 450°F for an hour
- Let cool
- Repeat if needed
Uneven Color
Cause: Normal and okay
Fix: Keep cooking. It evens out over time.
Rust Spots
Cause: Moisture exposure
Fix:
- Scrub rust off
- Re-season affected area
- Dry thoroughly after use
Flaking Seasoning
Cause: Too many layers or poor bonding
Fix:
- Strip to bare metal
- Start seasoning process over
- Use thinner oil coats
FAQ
How long does seasoning take?
Plan for 4-5 hours total. This includes multiple coats and cooling time. You can spread it over days.
Can I use my pan right after seasoning?
Yes, but start with fatty foods. Cook bacon or sausages first. Avoid eggs initially.
Do I season the outside too?
The outside doesn’t need as much attention. Focus on cooking surfaces. Do season handles for rust protection.
How often should I re-season?
Only when food starts sticking. Well-maintained pans need re-seasoning rarely. Maybe once a year.
Is pre-seasoned cast iron good enough?
Pre-seasoned Lodge cast iron is a good start. Add 2-3 more coats at home. This makes it even better.
Can I season on the stove top instead of oven?
Oven gives even heat. Stove top works in a pinch. Results may be uneven.
What if I accidentally used soap?
Don’t panic. Soap doesn’t ruin modern seasoning. Just dry well and add a thin oil layer.
Can I use my seasoned wok on high heat?
Yes! High heat is great for cast iron. It strengthens seasoning. Perfect for stir-frying.
Why is my iron tawa turning brown instead of black?
Early stages look brown. Keep using it. The color darkens over time. Bronze to brown to black is normal.
How do I know when seasoning is done?
The surface looks smooth and dark. Water beads up on it. Food doesn’t stick. You’re ready to cook.
Final Thoughts
Seasoning cast iron seems hard at first. But it becomes easy with practice.
Start with one piece. Maybe your skillet. Follow the steps carefully. Use thin oil layers. Bake at proper temperature.
After a few rounds, you will have a non-stick surface. Your pan will last decades. Maybe generations.
The work is worth it. Cast iron cookware is the best investment. It cooks better than anything else.
Start today. Your kitchen will thank you.
Happy cooking!