Getting the right measurements can make or break your recipes. Whether you’re baking cookies or cooking dinner, measuring cups and spoons are essential kitchen tools. This guide shows you how to use them correctly every time.
What Are Measuring Cups and Spoons?
Measuring cups and spoons help you add exact amounts of ingredients to your recipes. They come in standard sizes that match recipe measurements. Using them correctly ensures your food turns out just right.
These tools are different from regular cups and spoons. They’re designed to give precise measurements. Most recipes rely on these standard measurements to work properly.
Types of Measuring Cups
Dry Measuring Cups
Dry measuring cups are flat on top. They come in sets with different sizes:
- 1 cup
- 1/2 cup
- 1/3 cup
- 1/4 cup
You use these for flour, sugar, rice, and other dry ingredients. The flat top lets you level off excess ingredients for exact measurements.
Liquid Measuring Cups
Liquid measuring cups have a spout for pouring. They’re usually made of glass or clear plastic. Common sizes include:
- 1 cup (8 ounces)
- 2 cups (16 ounces)
- 4 cups (32 ounces)
These cups have measurement lines on the side. You use them for water, milk, oil, and other liquids. They have extra space at the top to prevent spills.
Types of Measuring Spoons
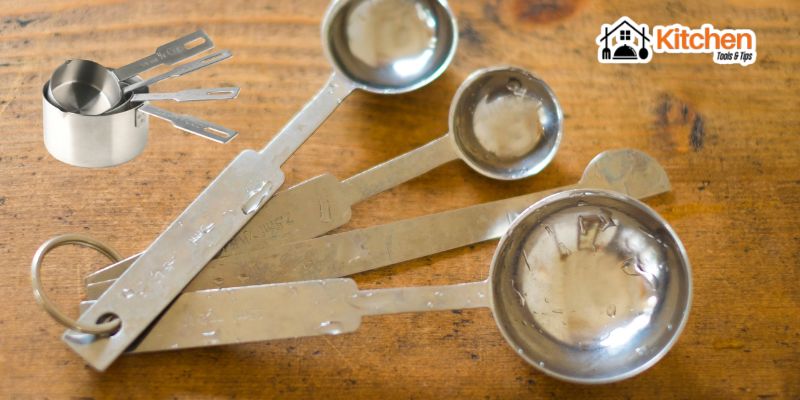
Measuring spoons come in sets with four to six spoons. Standard sizes include:
- 1 tablespoon (tbsp)
- 1 teaspoon (tsp)
- 1/2 teaspoon
- 1/4 teaspoon
- 1/8 teaspoon (in some sets)
You use these for small amounts of ingredients like salt, baking powder, vanilla extract, and spices. They work for both dry and liquid ingredients.
How to Measure Dry Ingredients
Follow these steps for accurate dry measurements:
Step 1: Choose the Right Cup Use dry measuring cups for ingredients like flour, sugar, and oats.
Step 2: Fluff the Ingredient Stir or fluff flour and powdered sugar before measuring. This prevents packing.
Step 3: Spoon Into the Cup Spoon the ingredient into the measuring cup. Don’t scoop directly from the container. This can pack the ingredient and give you too much.
Step 4: Level It Off Use a straight edge like a butter knife. Sweep across the top to remove excess. This gives you an exact measurement.
Important Note: Don’t tap or shake the cup. This packs the ingredient and changes the amount.
How to Measure Liquid Ingredients
Measuring liquids requires different techniques:
Step 1: Use a Liquid Measuring Cup Place it on a flat, level surface like your counter.
Step 2: Pour the Liquid Add the liquid to the cup slowly. Watch the measurement lines.
Step 3: Check at Eye Level Bend down so your eyes are level with the measurement line. The liquid should reach exactly to the line. Looking from above gives inaccurate readings.
Step 4: Read the Meniscus The liquid curves slightly at the edges. Read the measurement at the bottom of the curve, not the edges.
How to Measure with Spoons
Measuring spoons work for both dry and wet ingredients:
For Dry Ingredients:
- Fill the spoon to overflowing
- Level off with a straight edge
- Don’t pack it down
For Liquid Ingredients:
- Fill to the brim
- Be careful not to spill
- Pour over a bowl, not your recipe bowl
For Sticky Ingredients: Spray the spoon with cooking spray first. This helps honey, molasses, and peanut butter slide out easily.
Common Measuring Mistakes to Avoid
Don’t make these errors that ruin recipes:
Mistake 1: Using the Wrong Cup Type Never use dry cups for liquids or liquid cups for flour. Each type is designed for specific ingredients.
Mistake 2: Scooping Flour Directly This packs flour into the cup. You end up with 25% more flour than needed. Always spoon and level.
Mistake 3: Not Leveling Off Heaping measurements throw off your recipe. Always level dry ingredients.
Mistake 4: Measuring Over the Bowl If you spill, you add too much. Measure over a separate container or the sink.
Mistake 5: Eyeballing Measurements Guessing amounts leads to failed recipes. Always measure carefully.
Tips for Accurate Measurements
Follow these expert tips:
Invest in Quality Tools Buy stainless steel or heavy plastic measuring cups and spoons. Cheap ones can warp or have inaccurate measurements.
Keep Tools Clean Wash and dry measuring tools after each use. Residue affects accuracy.
Store Properly Keep measuring cups and spoons in an easy-to-reach spot. You’ll use them every time you cook.
Know Your Conversions Understanding basic conversions helps:
- 3 teaspoons = 1 tablespoon
- 4 tablespoons = 1/4 cup
- 16 tablespoons = 1 cup
Measure Brown Sugar Differently Pack brown sugar firmly into the cup. It should hold its shape when turned out.
Weigh for Best Results For baking, a kitchen scale gives the most accurate measurements. Weight is more precise than volume.
Special Ingredient Tips
Butter
Most butter wrappers have measurement marks. Cut along the lines for easy measuring.
Shortening and Lard
Pack firmly into dry measuring cups. Level off the top.
Fresh Herbs
Pack loosely unless the recipe says “packed.” Chopped herbs measure differently than whole leaves.
Cheese
Grated cheese should be measured loosely. Don’t pack it down.
Metric vs. Imperial Measurements
US recipes use cups and spoons (imperial system). Many other countries use milliliters and grams (metric system). If you’re using international recipes:
- 1 cup = 240 milliliters
- 1 tablespoon = 15 milliliters
- 1 teaspoon = 5 milliliters
Keep a conversion chart handy or use measuring tools with both measurements.
When Precision Matters Most
Baking requires exact measurements. Cakes, cookies, and bread depend on precise ratios. Too much or too little changes texture and taste.
Cooking allows more flexibility. Soups, stews, and stir-fries work with approximate measurements. You can adjust to taste.
Conclusion
Measuring cups and spoons are simple tools that make a big difference. Use dry cups for dry ingredients and liquid cups for liquids. Always spoon and level dry ingredients. Check liquid measurements at eye level.
These basic techniques improve every recipe you make. Practice these methods, and measuring becomes second nature. Your cooking and baking will be more consistent and successful.
Start applying these tips today. Your next recipe will turn out better than ever.